Готовы приступить к работе?
We’ll show you step by step how to install, set up and make the most of the WordPress plugin to exploit the full potential of internal links. Whether you’re a beginner or an experienced WordPress user – with the Internal Links Manager, you’ll always have full control over your internal linking strategy.
Our Features
Add New Link
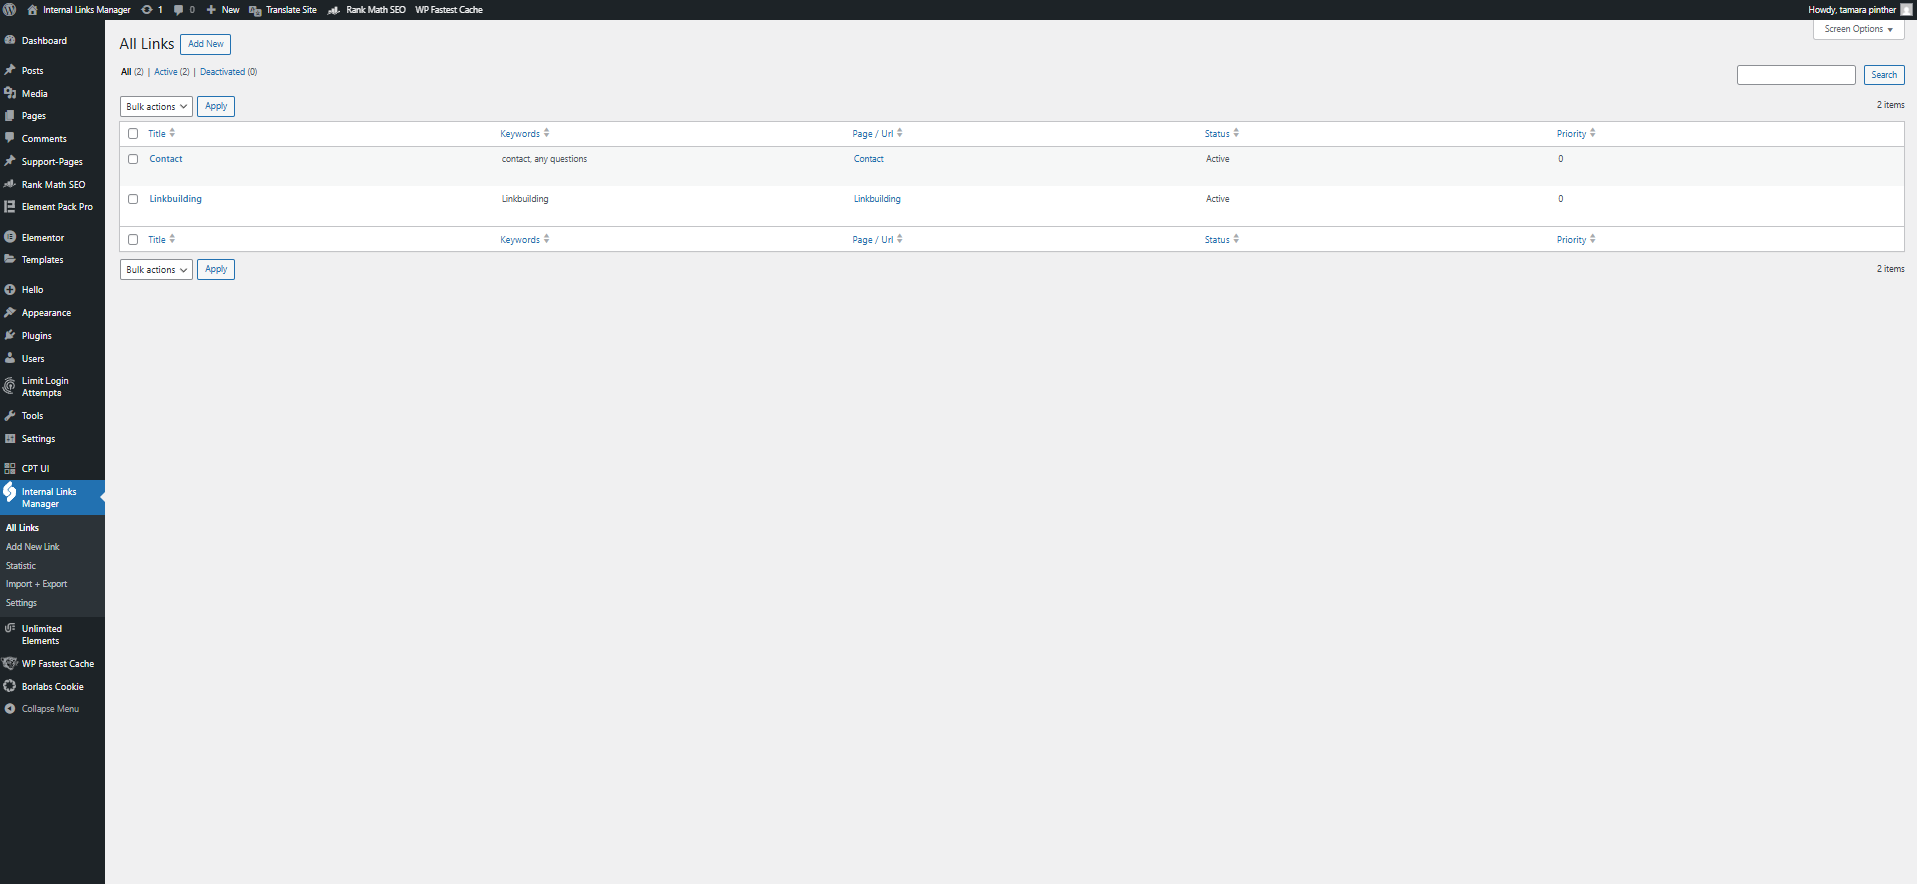
Add one or more links with the keywords you want to link automatically. Set the priority to control which links are applied first—higher values are prioritized. If priorities match, the longer keyword wins. You can also define the link title, limit how often it appears per page, and enable "nofollow" if needed.
Import + Export
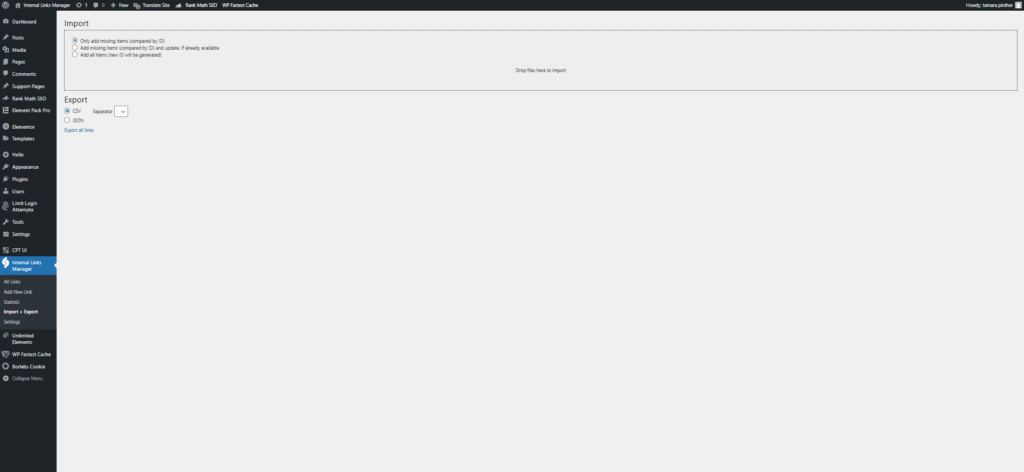
Import or export your internal links conveniently via CSV or JSON file. With CSV files, you also have the option of choosing the separator, whether semicolon or comma separated.
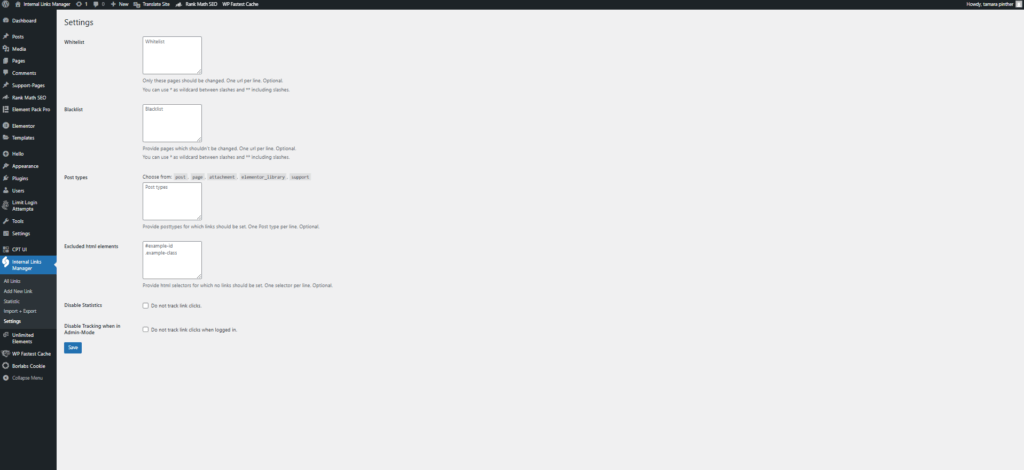
Settings
How to get started?
Step 1:
Dowload the Plugin
Begin by downloading the Internal Links Manager PlugIn from the official WordPress plugin store.
Step 2:
Access the WordPress Dashboard
Войдите в панель администратора WordPress, используя свои учетные данные. Перейдите к разделу "Плагины" в левой боковой панели.
Step 3:
Upload the Plugin
Click on the “Add New” button at the top of the Plugins page. Choose the “Upload Plugin” option. Select the Internal Links Manager plugin ZIP file that you downloaded earlier and click on the “Install now” button.
Step 4:
Activate the Plugin
Click on the “Add New” button at the top of the Plugins page. Choose the “Upload Plugin” option. Select the Internal Links Manager plugin ZIP file that you downloaded earlier and click on the “Install Now” button.
Start 5:
Start creating Internal Links
Все готово! Теперь вы можете приступить к созданию внутренних ссылок! Вы можете ознакомиться с этой отдельной статьей, чтобы получить дальнейшее руководство по как создать свою первую внутреннюю ссылку.
Create your first internal link
Add new Link
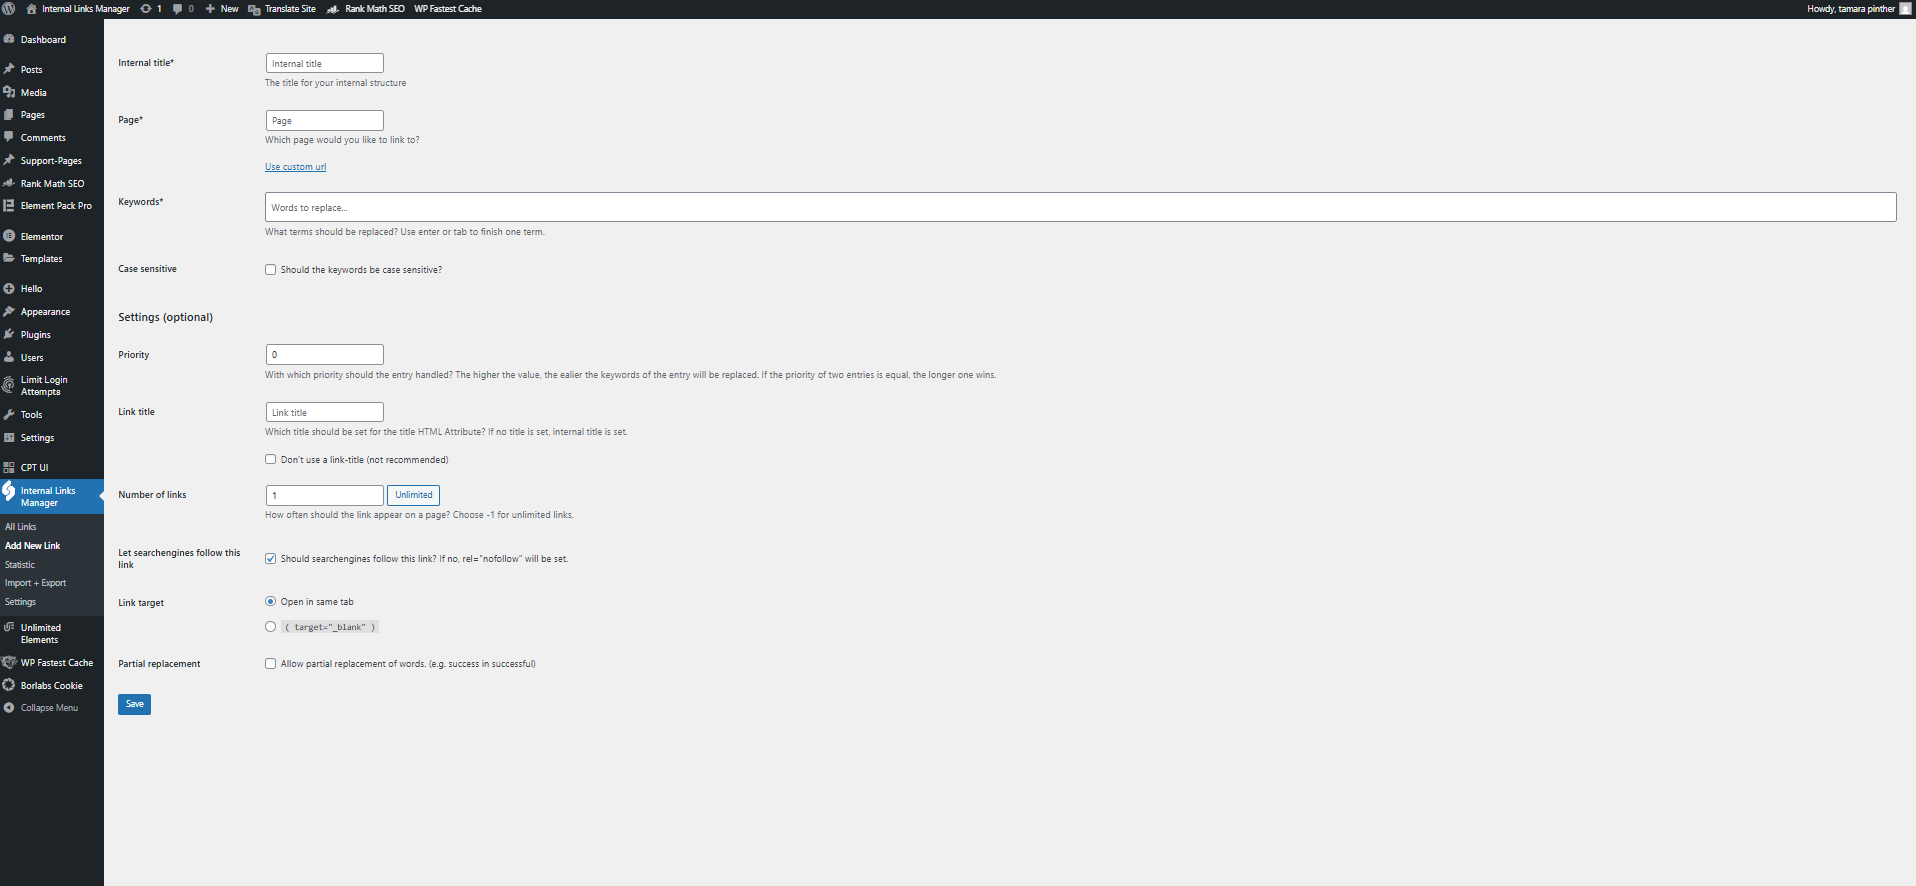
To create an internal link, login to your WordPress backend, navigate to the internal links manager plugin on the left sidebar and click “Add New Link”.
Fill in the required fields.
First, set an internal title for your link (for internal use only).
Then select the target page or enter any URL under “Use custom URL.”
In “Keywords,” add the words or phrases you want to link, separating each with Enter or Tab.
Settings
You can choose if keywords are case sensitive.
Optional settings include setting link priority (higher = earlier replacement), defining a custom link title, limiting link frequency (-1 for unlimited), and choosing whether search engines follow the link.
You can also allow partial replacements (e.g., “success” links “successful”).
Вот и все! Вы создали свою первую внутреннюю ссылку. Поздравляем!
