Add New Link
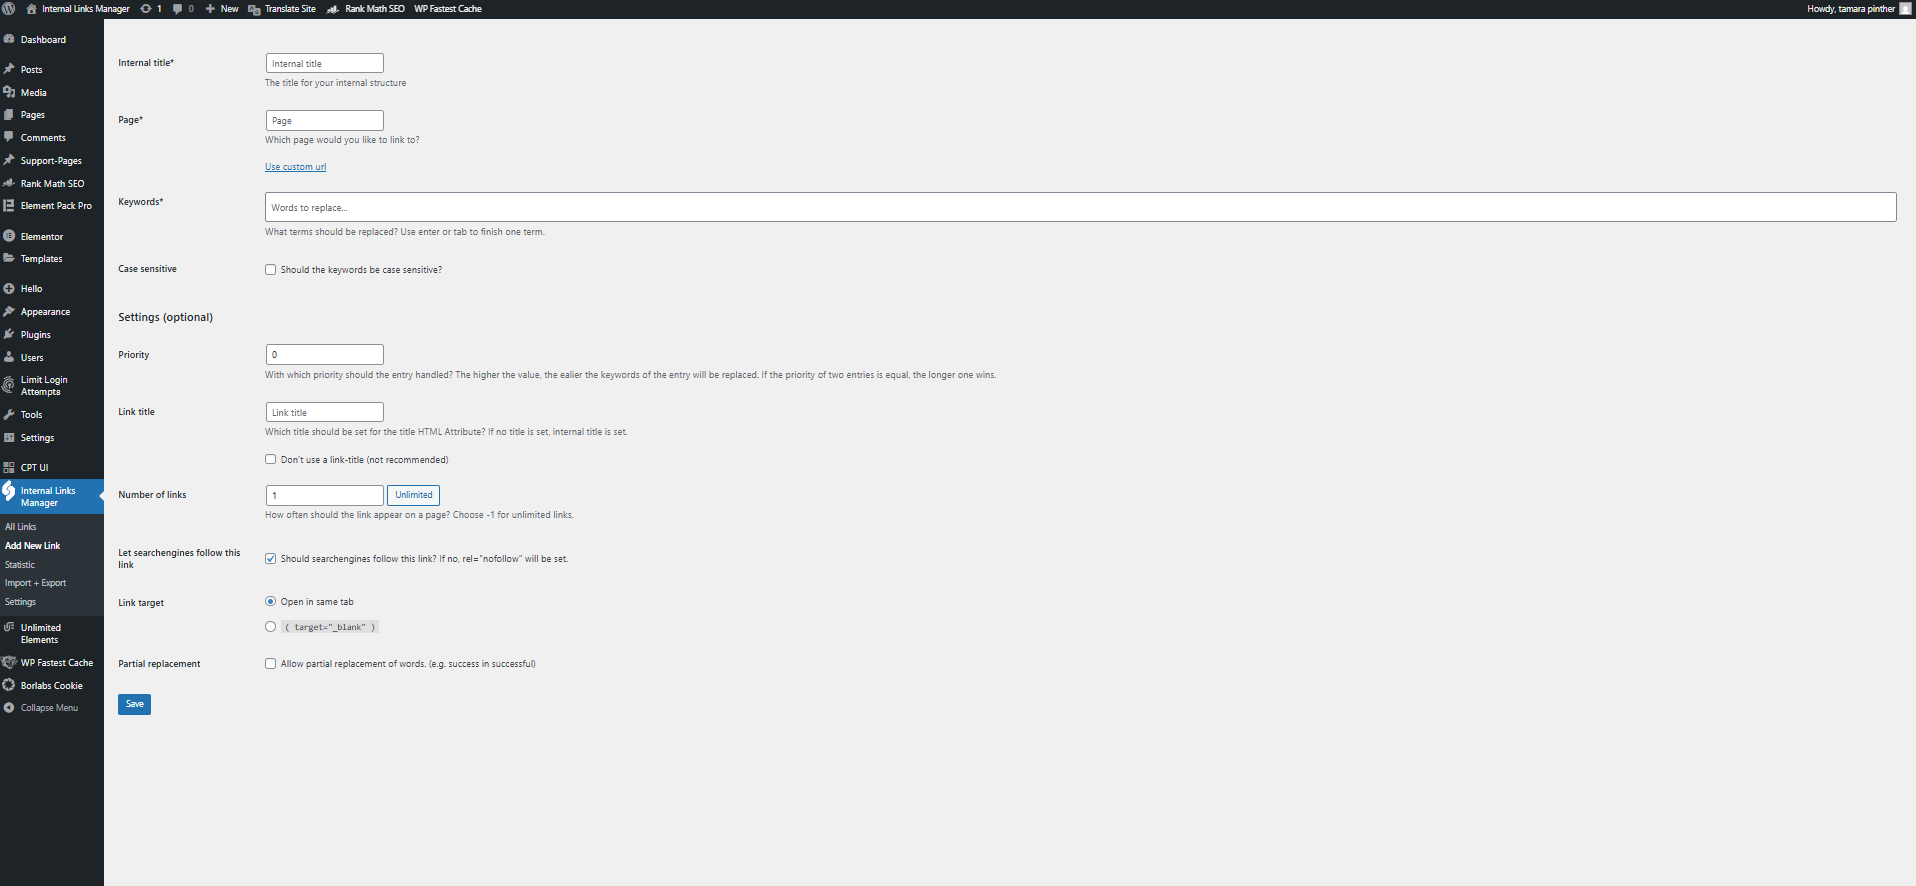
Add one or more links with the keywords you want to link automatically. Set the priority to control which links are applied first—higher values are prioritized. If priorities match, the longer keyword wins. You can also define the link title, limit how often it appears per page, and enable "nofollow" if needed.
All Links
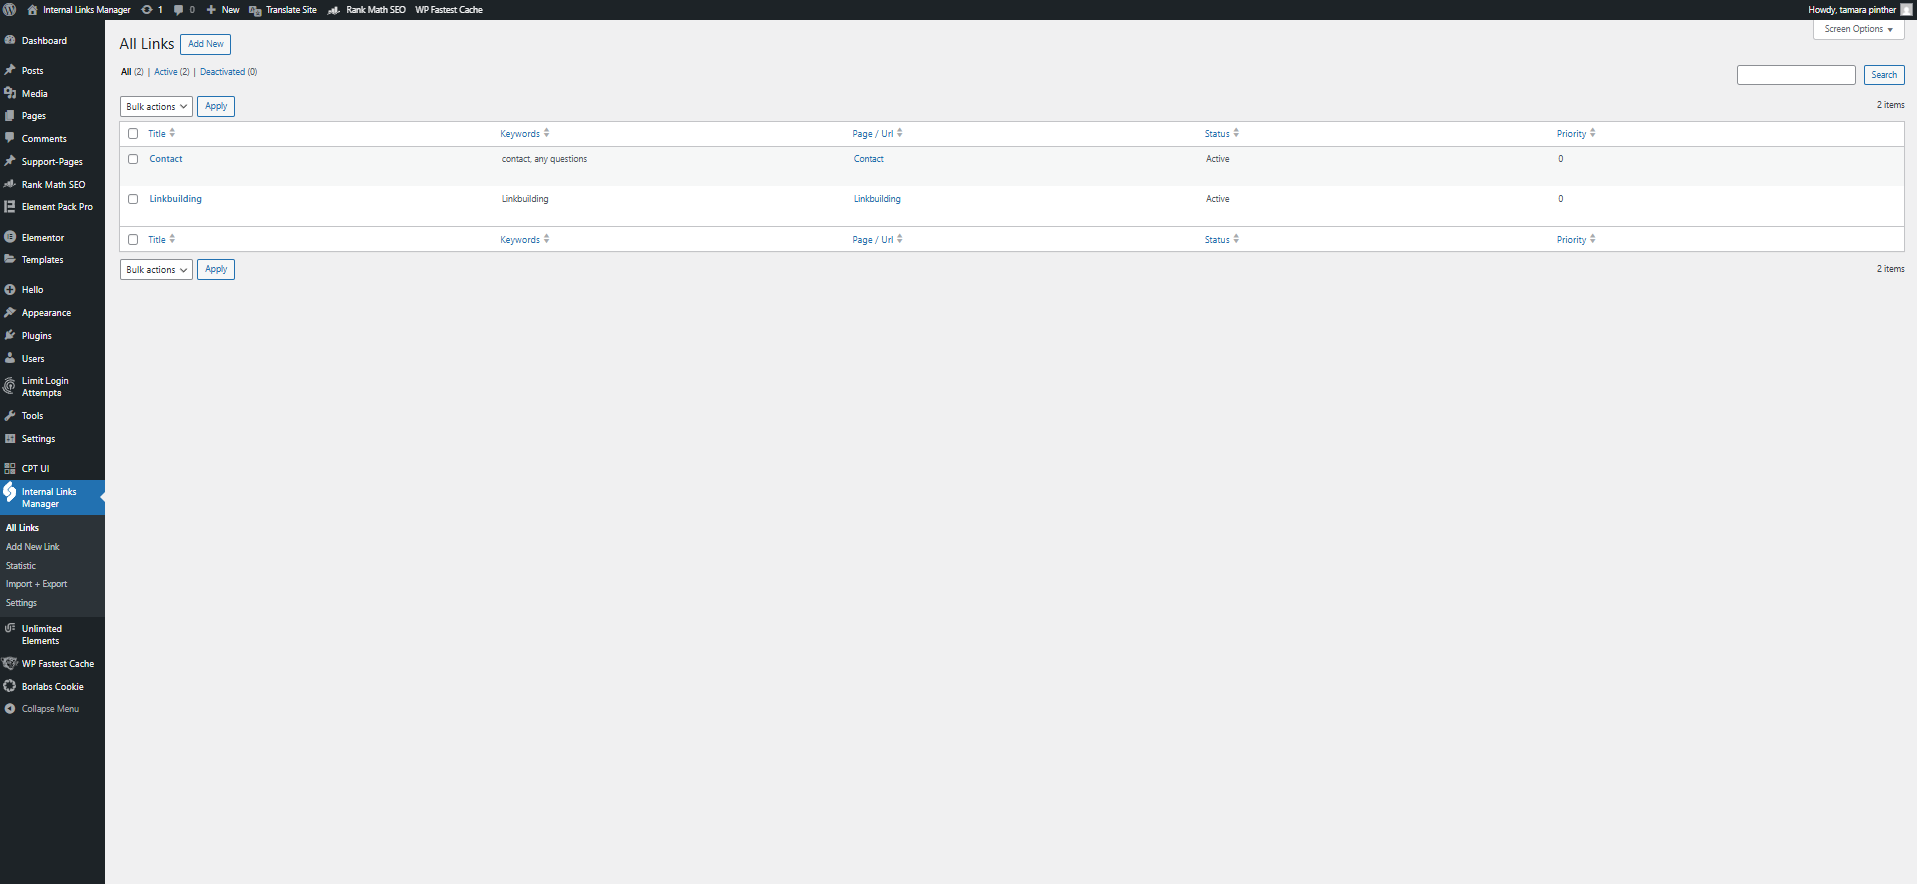
View all your internal links in the overview. From here, you can edit, deactivate, delete, or export them directly.
Statistic
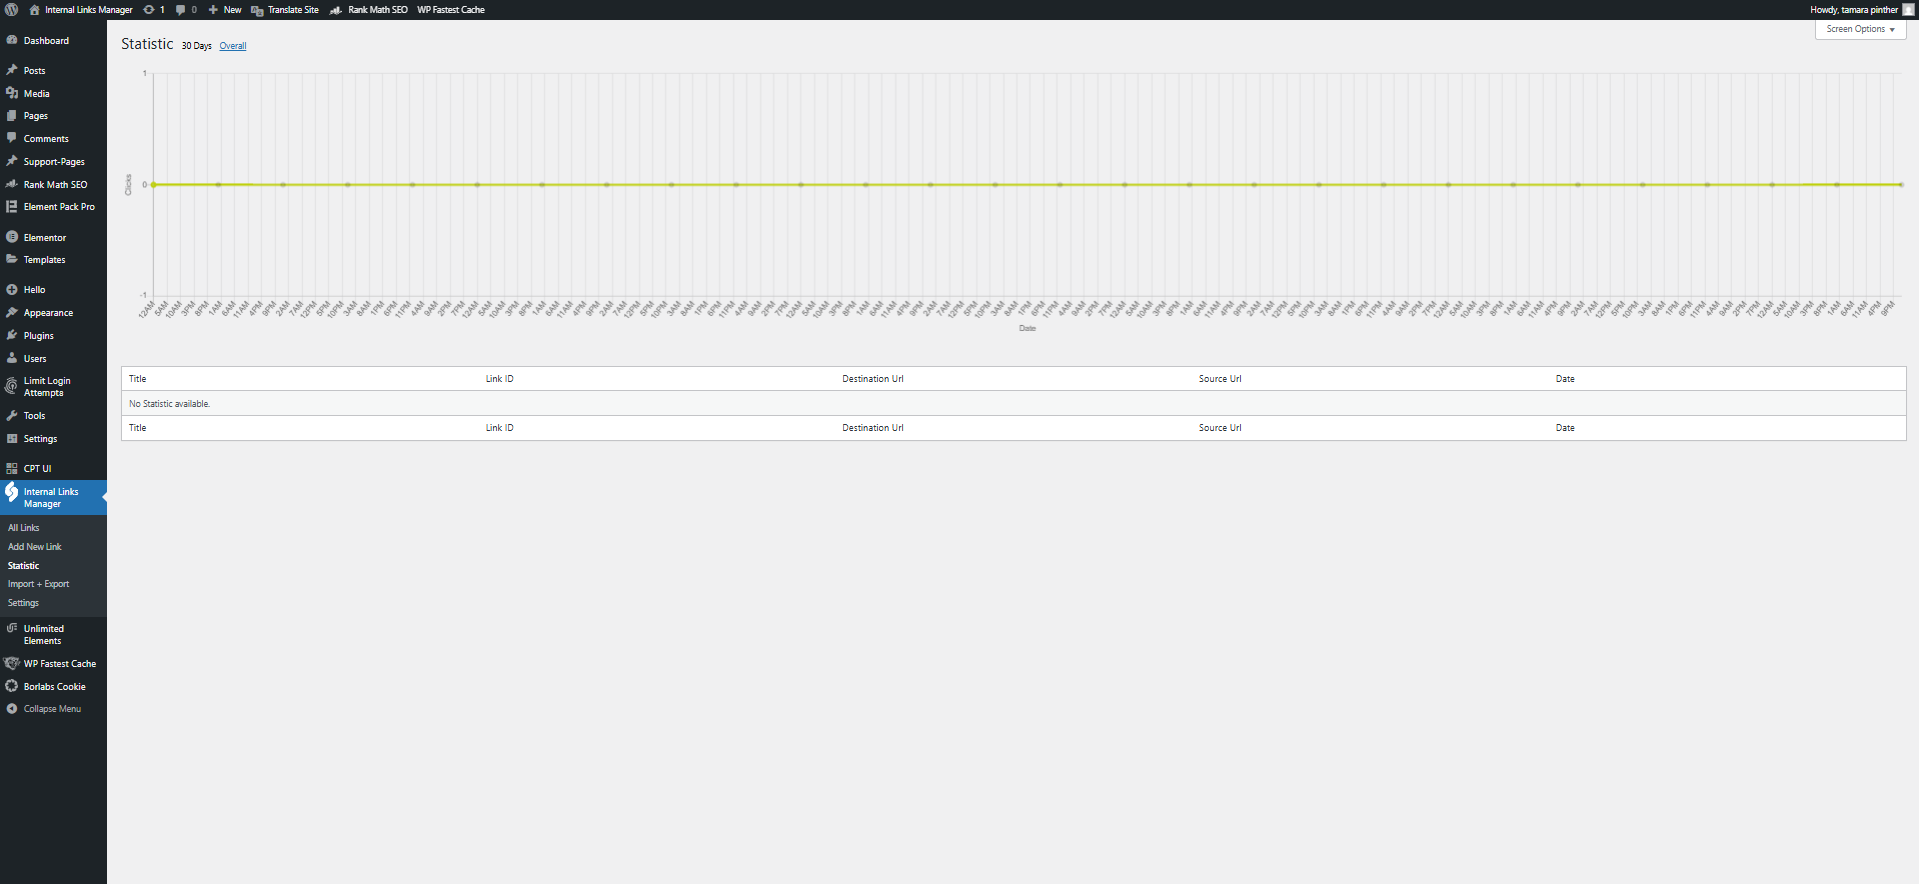
In the statistics, you can see all links and their performance.
Import + Export
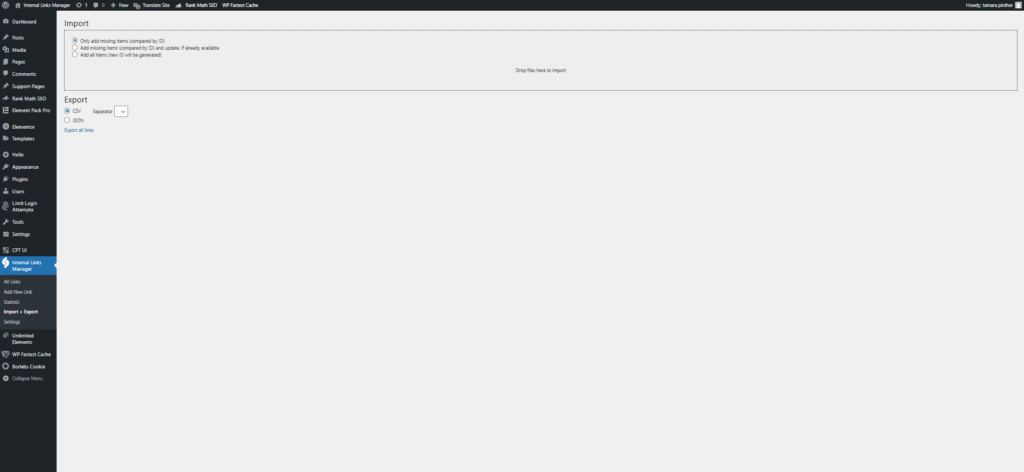
Import or export your internal links conveniently via CSV or JSON file. With CSV files, you also have the option of choosing the separator, whether semicolon or comma separated.
Settings
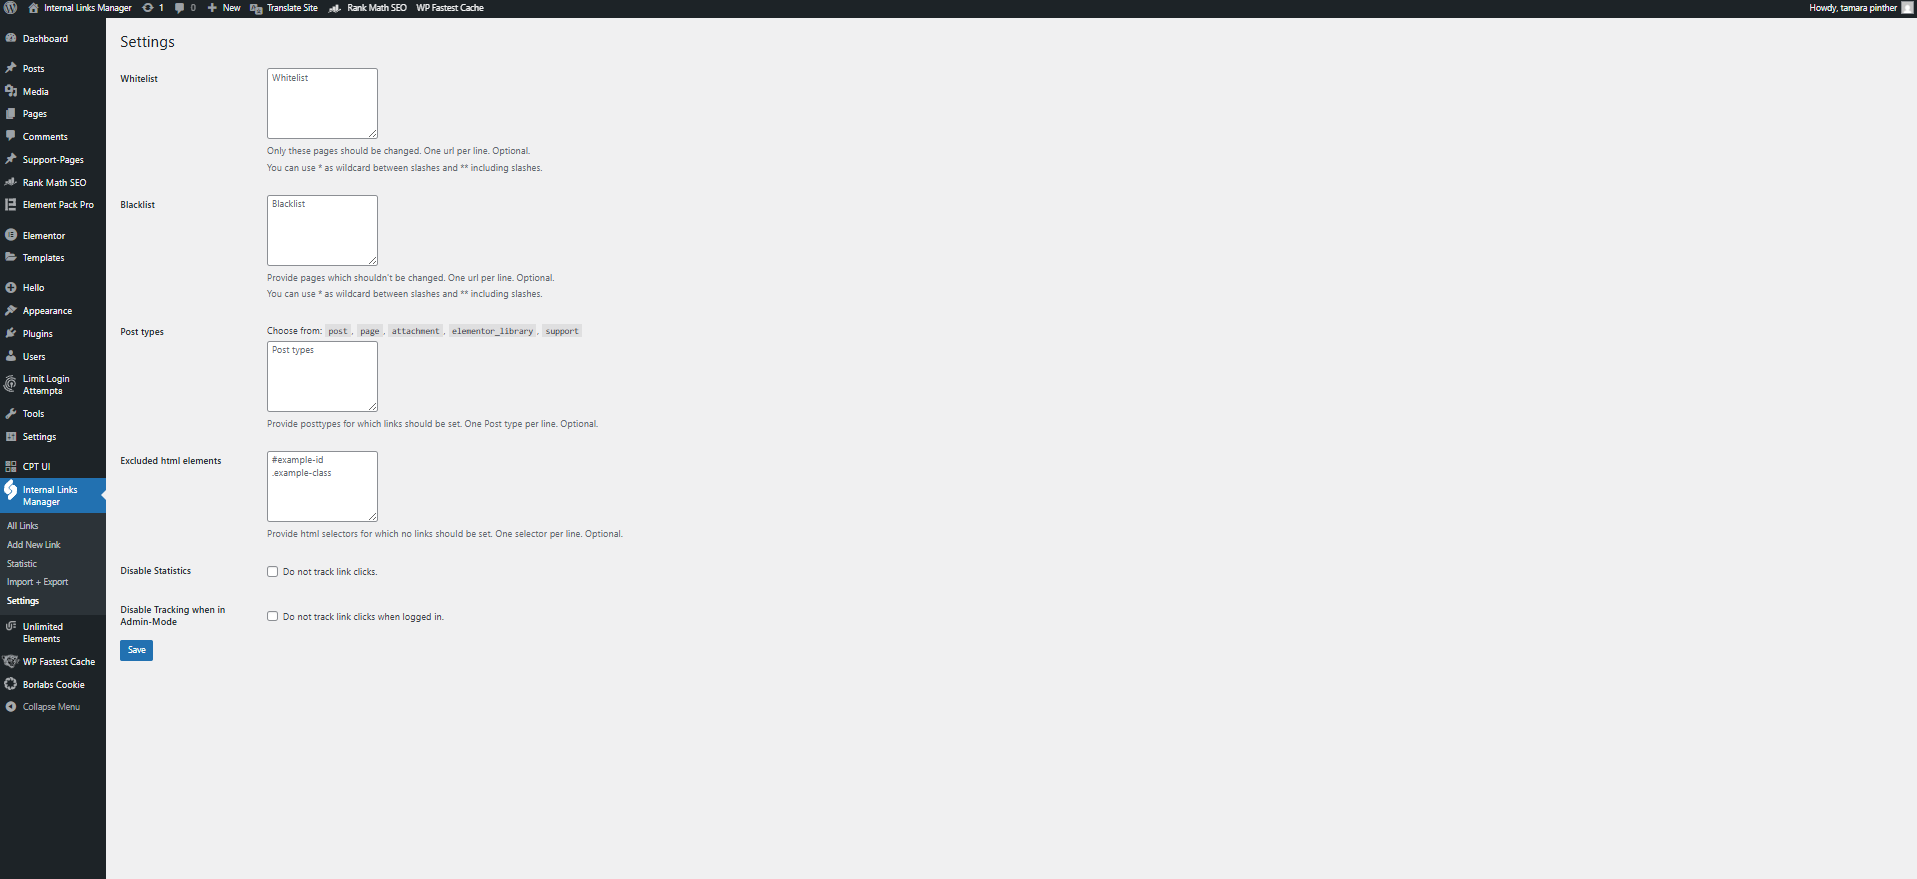
Select pages via “Whitelist” that are to be changed and pages that are not to be changed under “Blacklist”. You can also specify the post types here or select HTML elements for which no links should be set. You can also disable the statistics or switch off tracking if you are in admin mode.